Camper Interior Lining & Flooring
Getting the interior lining done correctly ensures that your camper stays dry, quiet and warm. It also sets the blank canvas for your individual interior .......
FIRST THINGS FIRST ……
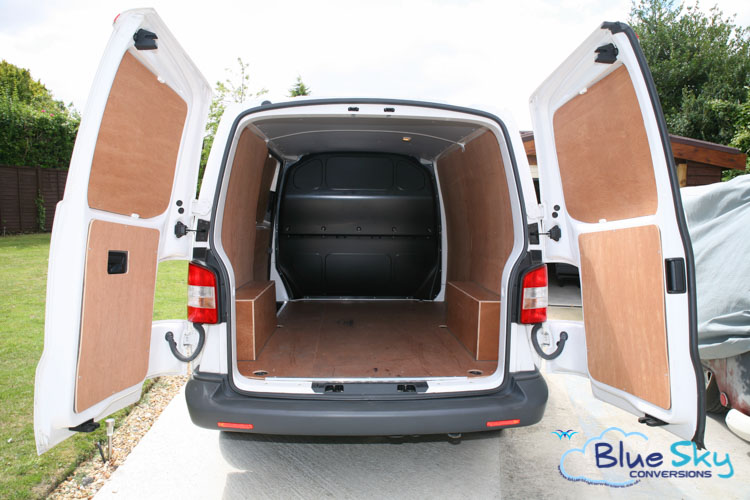
This is probably your starting point if you have purchased a camper project van. Most T5/T6’s start life as a commercial vehicle and will have been supplied new with a steel 2-part bulkhead separating the cab area from the payload area. This is mostly for security but also helps to reduce noise from the back as road noise is transmitted through the floor and wheel arches and the side panels & roof resonate.
The van will usually be ply lined to protect the exterior panels from being damaged or worse punctured from inside. It may also have ply wheel arch boxes.
GETTING STARTED – 1ST STAGE NOISE REDUCTION
The 2-part steel bulkhead has to be removed including the fixing brackets. Then the ply side panels, ply wheel-arch boxes and rear door/tailgate ply panel(s) need to be removed to expose the outer vehicle metal skin. The roof panels and trims also need to be removed.
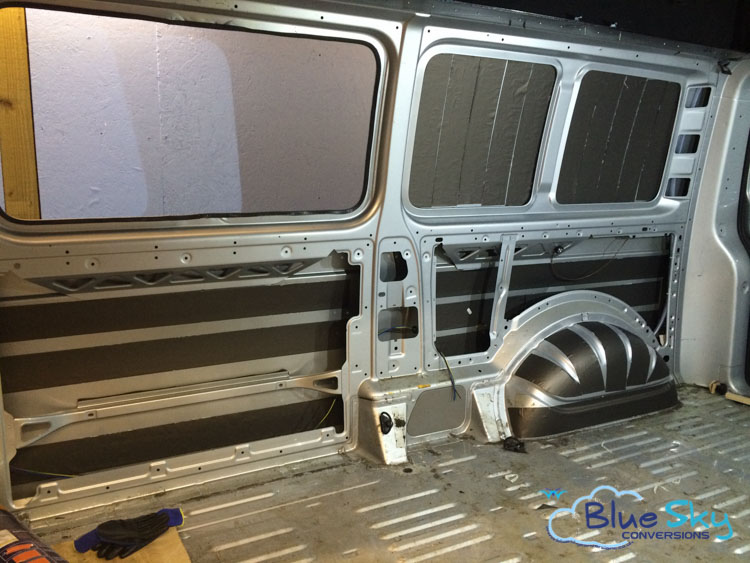
The most effective way to reduce noise is to prevent all of the steel panels from resonating and amplifying road noise. This is achieved by adding vibration damping material to all the exposed internal surfaces.
The images to the right show typically what is done.
2ND STAGE – INSULATION
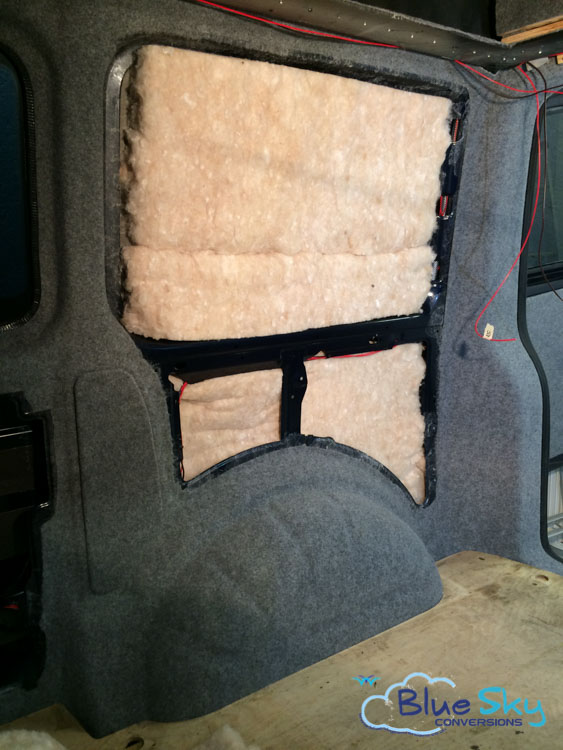
The next part of the lining process after sound absorption is insulation.
All cavities are filled with conventional insulating material. Blue Sky only use recycled plastic bottle based insulation which is both harmless and odourless.
3RD STAGE – INNER INSULATION VAPOUR BARRIER
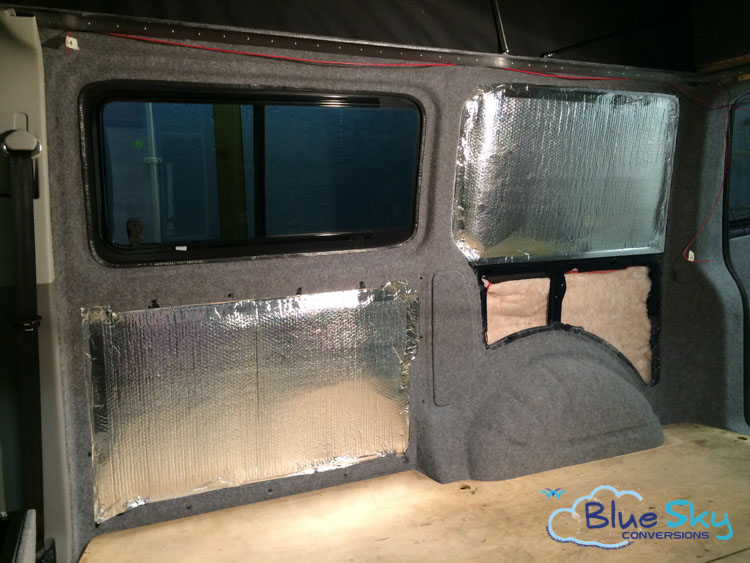
The insulated cavities have a final insulation vapour barrier using a plastic bubble matt with foil backing to both sides.
The barrier is held in place and the cavities sealed with aluminium tape.
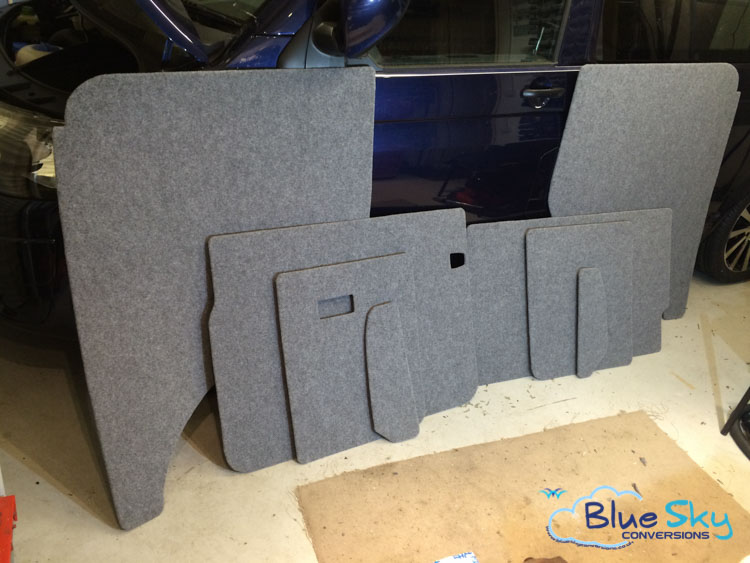
4TH STAGE – CARPET LINING
The exposed metal work that will be seen when the new carpeted ply panels are fitted, are covered in matching Easyliner 4 way stretch carpet. Where side windows are to be added, these are cut-out first i order that the carpet can trimmed under the inner window seal. The window(s) are fitted afterwards.
A high temperature adhesive is used to ensure that the carpet stays in place even in the hottest environments and locations.
The oem fibre panels are not re-used. They are replaced with 3mm thick ply in order that concealed fasteners can be fitted. This ensures that the fixing cannot be seen when the panel is in place. The ply is covered with matching Easyliner carpet.
Easyliner carpet is available in a range of colours – Silver, light grey, stone, smoke, anthracite plus a range of speciality bold colours.
Carpet ply panel sets with blind fixings are available for lwb and swb models in either barn door or tailgate variants in the Blue Sky e-Shop
5TH STAGE – FLOORING
A lot of noise passes through the floor and getting the flooring right is important in reducing noise but also to provide a solid foundation for furniture and a solid feel underfoot.
Firstly the floor is battened with 36 pre-cut ply pieces. The battens are bonded to the existing floor between the ribbed sections. The finished height of the battens is the same as the top of the oem floor ribs. A new 11mm ply floor is cut and fitted. Before fitting, an insulating vapour barrier is bonded to the underside of the ply which is then screwed into the bonded battens (not screwed to the steel floor which could create a future corrosion issue.
Ply floors for both lwb and swb plus batten packs are available in the Blue Sky e-Shop
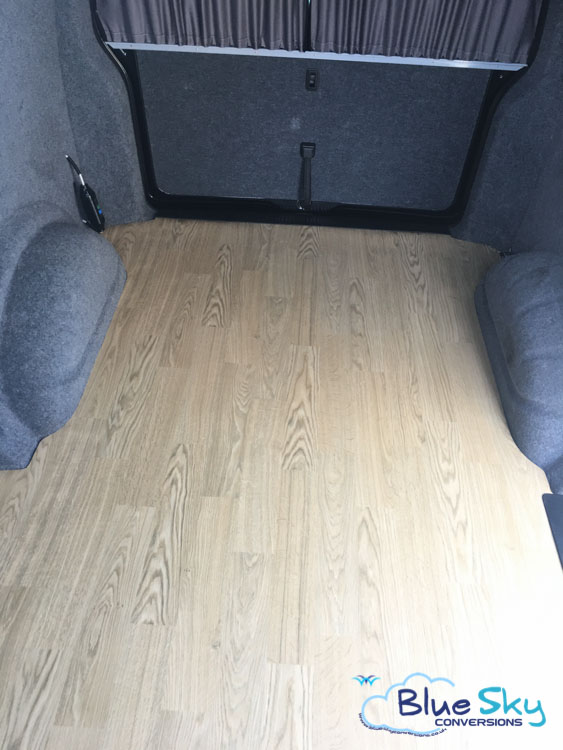
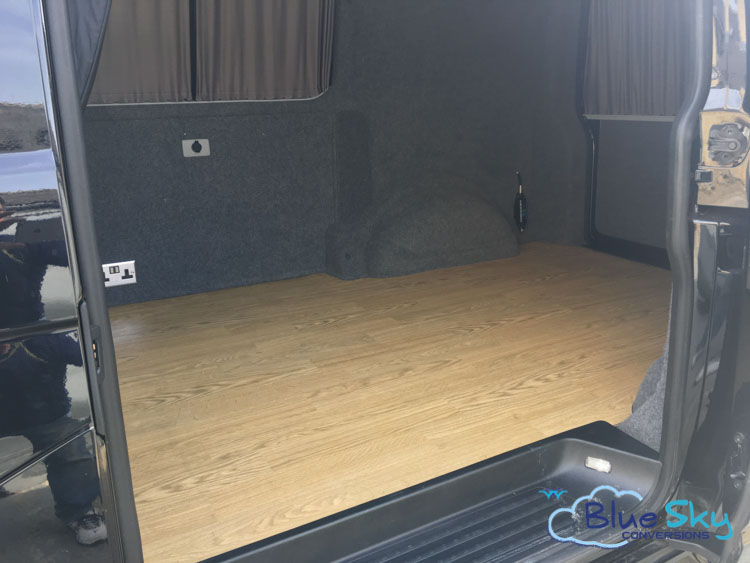
6TH STAGE – ALTRO FLOOR COVERING
Campervan floor coverings need to be hard wearing, heavy duty and non-slip. They also form part of the ambience of your camper and should compliment or contrast the internal colour scheme.
Blue Sky only se the Altro range of industrial safety floor finishes. Altro can be supplied in a vast range of colours and finishes ranging from bold base colours to glitters and woods.
